Episode 1 - Installing swivel seats & over cab locker
Hi, I’m Ollie, and welcome to the first instalment of my journey to transform a medium wheelbase VW Crafter into a fully functional, 4-berth, off-grid adventure vehicle! In this YouTube series, I’m sharing every step of the process, from a blank canvas to a fully kitted-out campervan ready for epic adventures.
In Part 1, we kick things off by installing R&J swivel seats, insulating the cab, and setting up a cab locker.
The Starting Point: A Blank Canvas
The VW Crafter I’m working with is a medium wheelbase van with a factory floor and ply lining. The bulkhead has already been removed, giving us a clean slate to start the conversion. This van is a blank canvas, and I’m excited to turn it into a cosy, off-grid home on wheels.
Step 1: Installing R&J Swivel Seats
The first task is to install R&J swivel seats for both the driver and passenger sides, which will add flexibility and comfort to the living space. Here’s how we did it:
-
Driver’s Seat: The installation of the driver’s seat is straightforward. Using star drive bits, I removed the seat top (four bolts, one in each corner) without unbolting the base. The swivel base is then fitted in place, and the seat top is reattached.
-
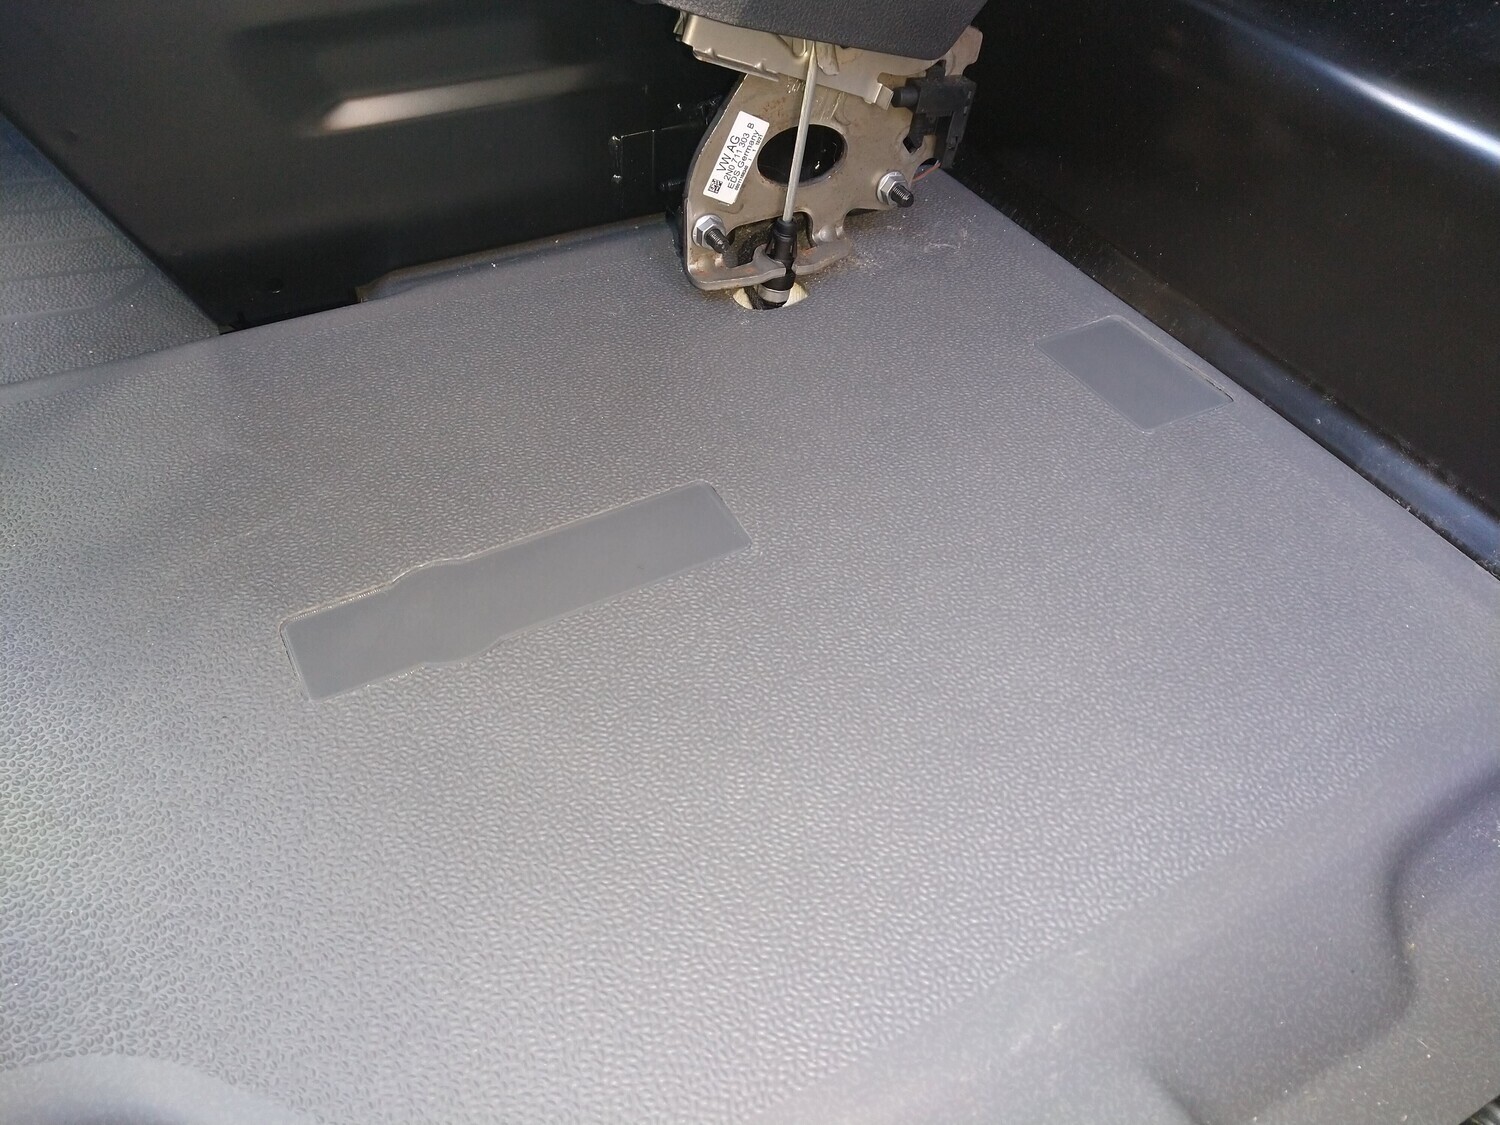
Double Passenger Seat: The double passenger seat requires a bit more work. I unbolted and removed the entire seat, then installed a double swivel base that comes in two parts. Once assembled, the base is bolted into place, and the seat is reattached. Pro Tip: If you prefer a single seat, you’ll need delete plates to cover the two holes left in the floor. I sell these via https://camperlux.co.uk/
Note: Some swivel bases may arrive without the rear plastic cover. You can source replacements from VW or MAN if needed.
Step 2: Insulating Above the Cab
Next, I tackled insulation above the cab to prevent condensation—a critical step for any campervan conversion. Here’s the process:
-
Accessing the Area: Using a trim removal tool, I carefully popped off the headliner connectors. This revealed the space above the cab where insulation would be installed.
-
Insulating with Dacron: I used 35mm x 1m Dacron insulation, feeding it into the space and tucking it down to the front of the van. I cut the material up the middle to ensure full coverage and stuffed additional insulation along the top, pressing it against the metal for maximum effect.
-
Why It Matters: Proper insulation prevents condensation, keeping the interior dry and comfortable. I’ve never had issues with condensation in my conversions, partly because I also install a cab locker for extra insulation (more on that below).
Alternative Approach: Some converters remove the entire headliner and insulate directly against the van’s metal. I avoided this to prevent damaging the headliner, opting for a less invasive method.
Step 3: Installing the Cab Locker
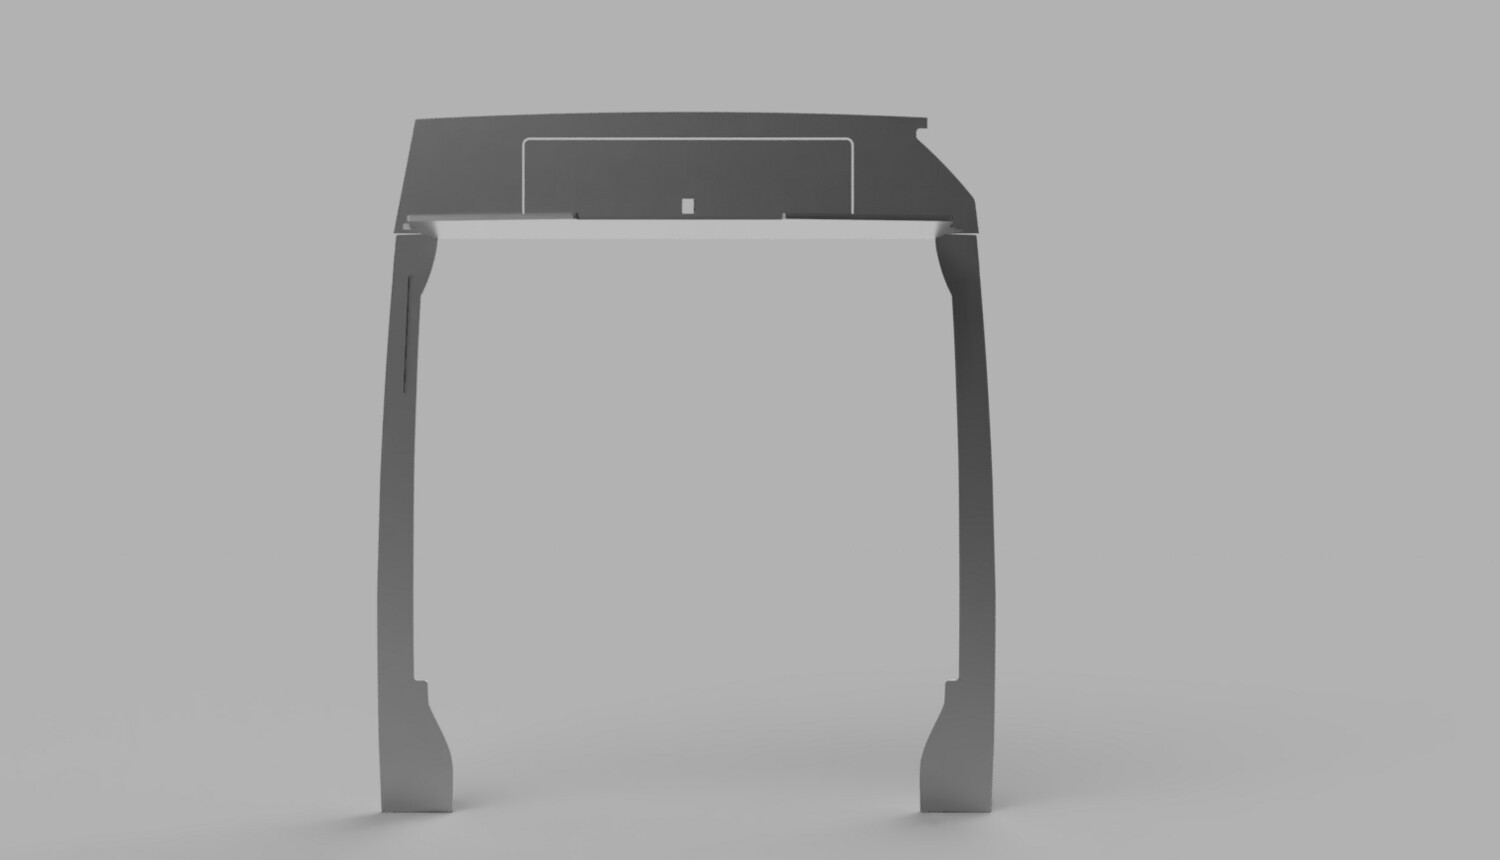
To finish off the cab area, I installed a custom cab locker, which provides storage and additional insulation. Here’s how it came together:
-
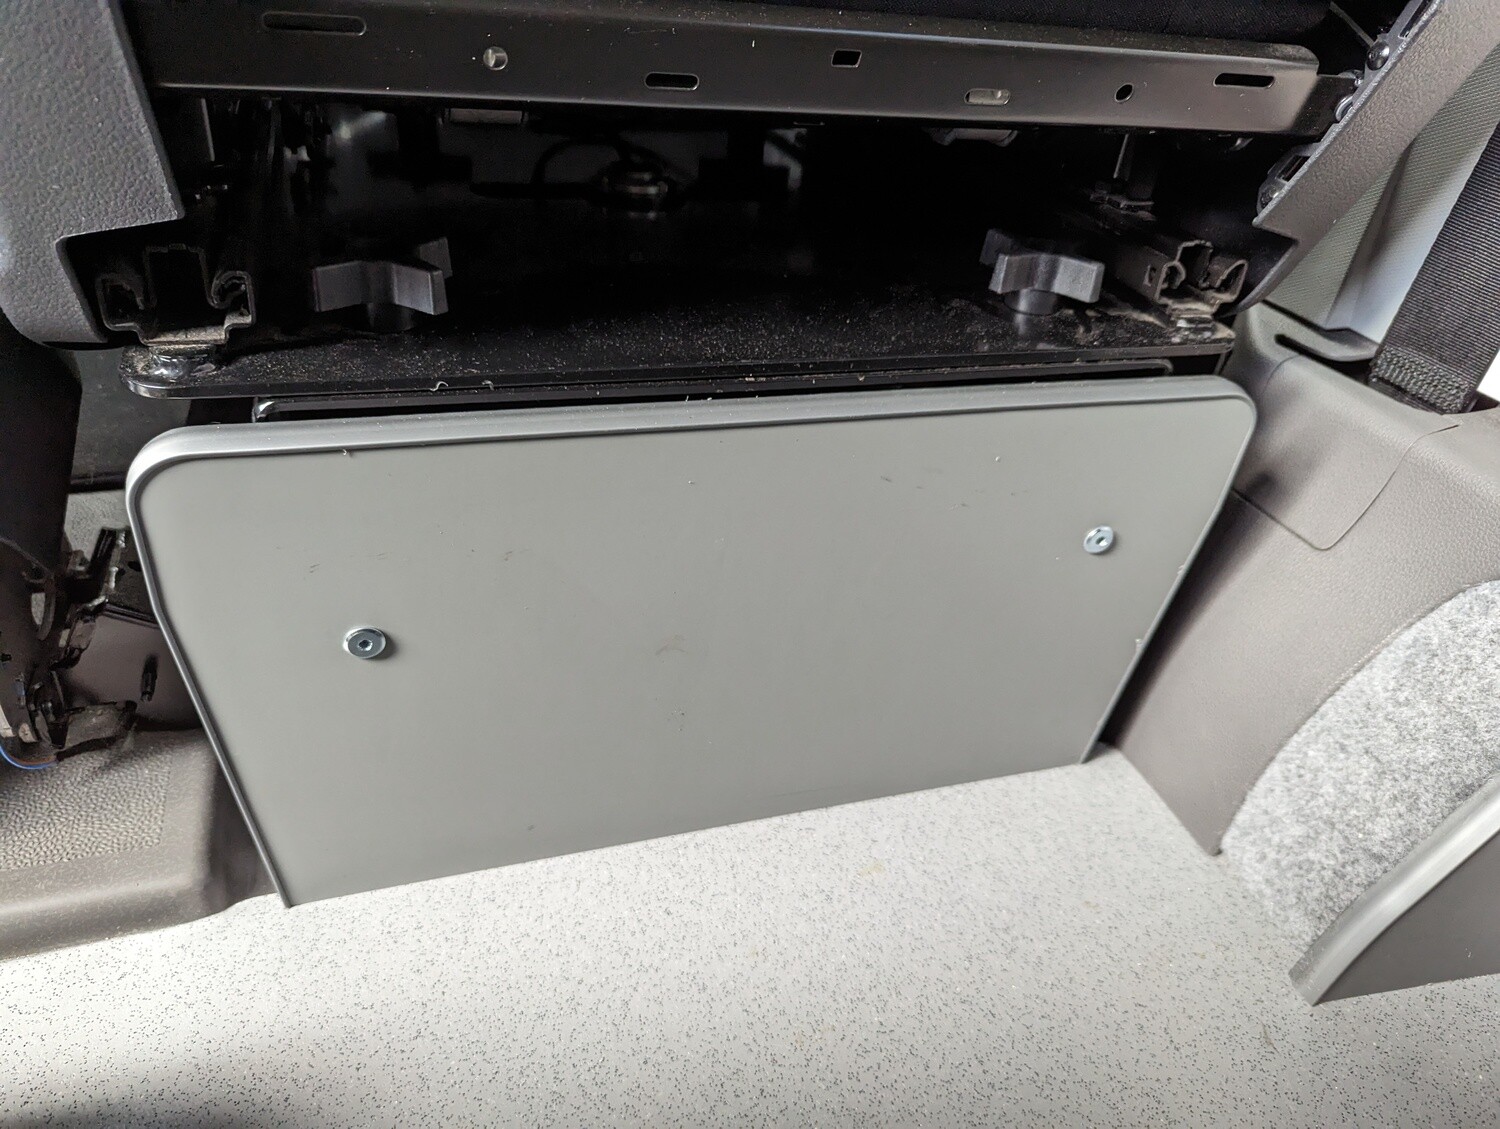
Preparing the Fixings: I drilled two 9mm holes and installed M6 riv nuts using a riv nut tool. These create secure fixing points for the cab locker.
-
Marking and Drilling: I screwed sharpened bolts into the riv nuts, then placed the cab locker board on top, pressing down to mark the exact drilling spots. Using an M8 drill bit, I drilled holes in the cab locker for precise bolt alignment.
-
Securing the Locker: The cab locker was bolted down with spacers to prevent sliding. I also added aluminum channel to the front, secured with tech screws, and plan to install B-pillar covers later for a polished look.
The cab locker not only adds storage but also enhances insulation, making it a practical and aesthetic addition to the build.
What’s Next?
In this first episode, we’ve laid the groundwork for the VW Crafter conversion by installing swivel seats, insulating the cab, and adding a cab locker. In the next video, we’ll tackle window installation and fit bumpouts for a traverse bed—essential for creating a comfortable 4-berth layout.
Follow along on YouTube for Part 2, and check out the full build series for tips, tricks, and inspiration for your own campervan project.
If you’re sourcing parts like delete plates or insulation materials, head to https://camperlux.co.uk/ for quality supplies.
Subscribe to my YouTube channel https://www.youtube.com/@camperlux7151 and follow the blog for updates on this off-grid adventure InterpidVan build!
Have questions or tips for van conversions? Drop us a message or comment.
Display prices in:GBP


