Episode 5 - Ceiling panelling and lining, installation of pipes and cables under the floor. Side pod lining and floor
Hey, I’m Ollie, and welcome to Episode 5 of my blog and YouTube series, where I’m converting a medium wheelbase VW Crafter into a 4-berth, off-grid adventure vehicle! In Episode 4 https://camperlux.co.uk/products/episode-4-panelli..., we prepped panels, insulated the ceiling, and carpet-lined the walls.
Now, we’re laying the vinyl floor, finishing the ceiling lining, and lining the side pods, bringing us closer to a functional campervan. An extra pair of hands continues to be useful and saves time for this phase of the build!
Step 1: Laying the Vinyl Floor
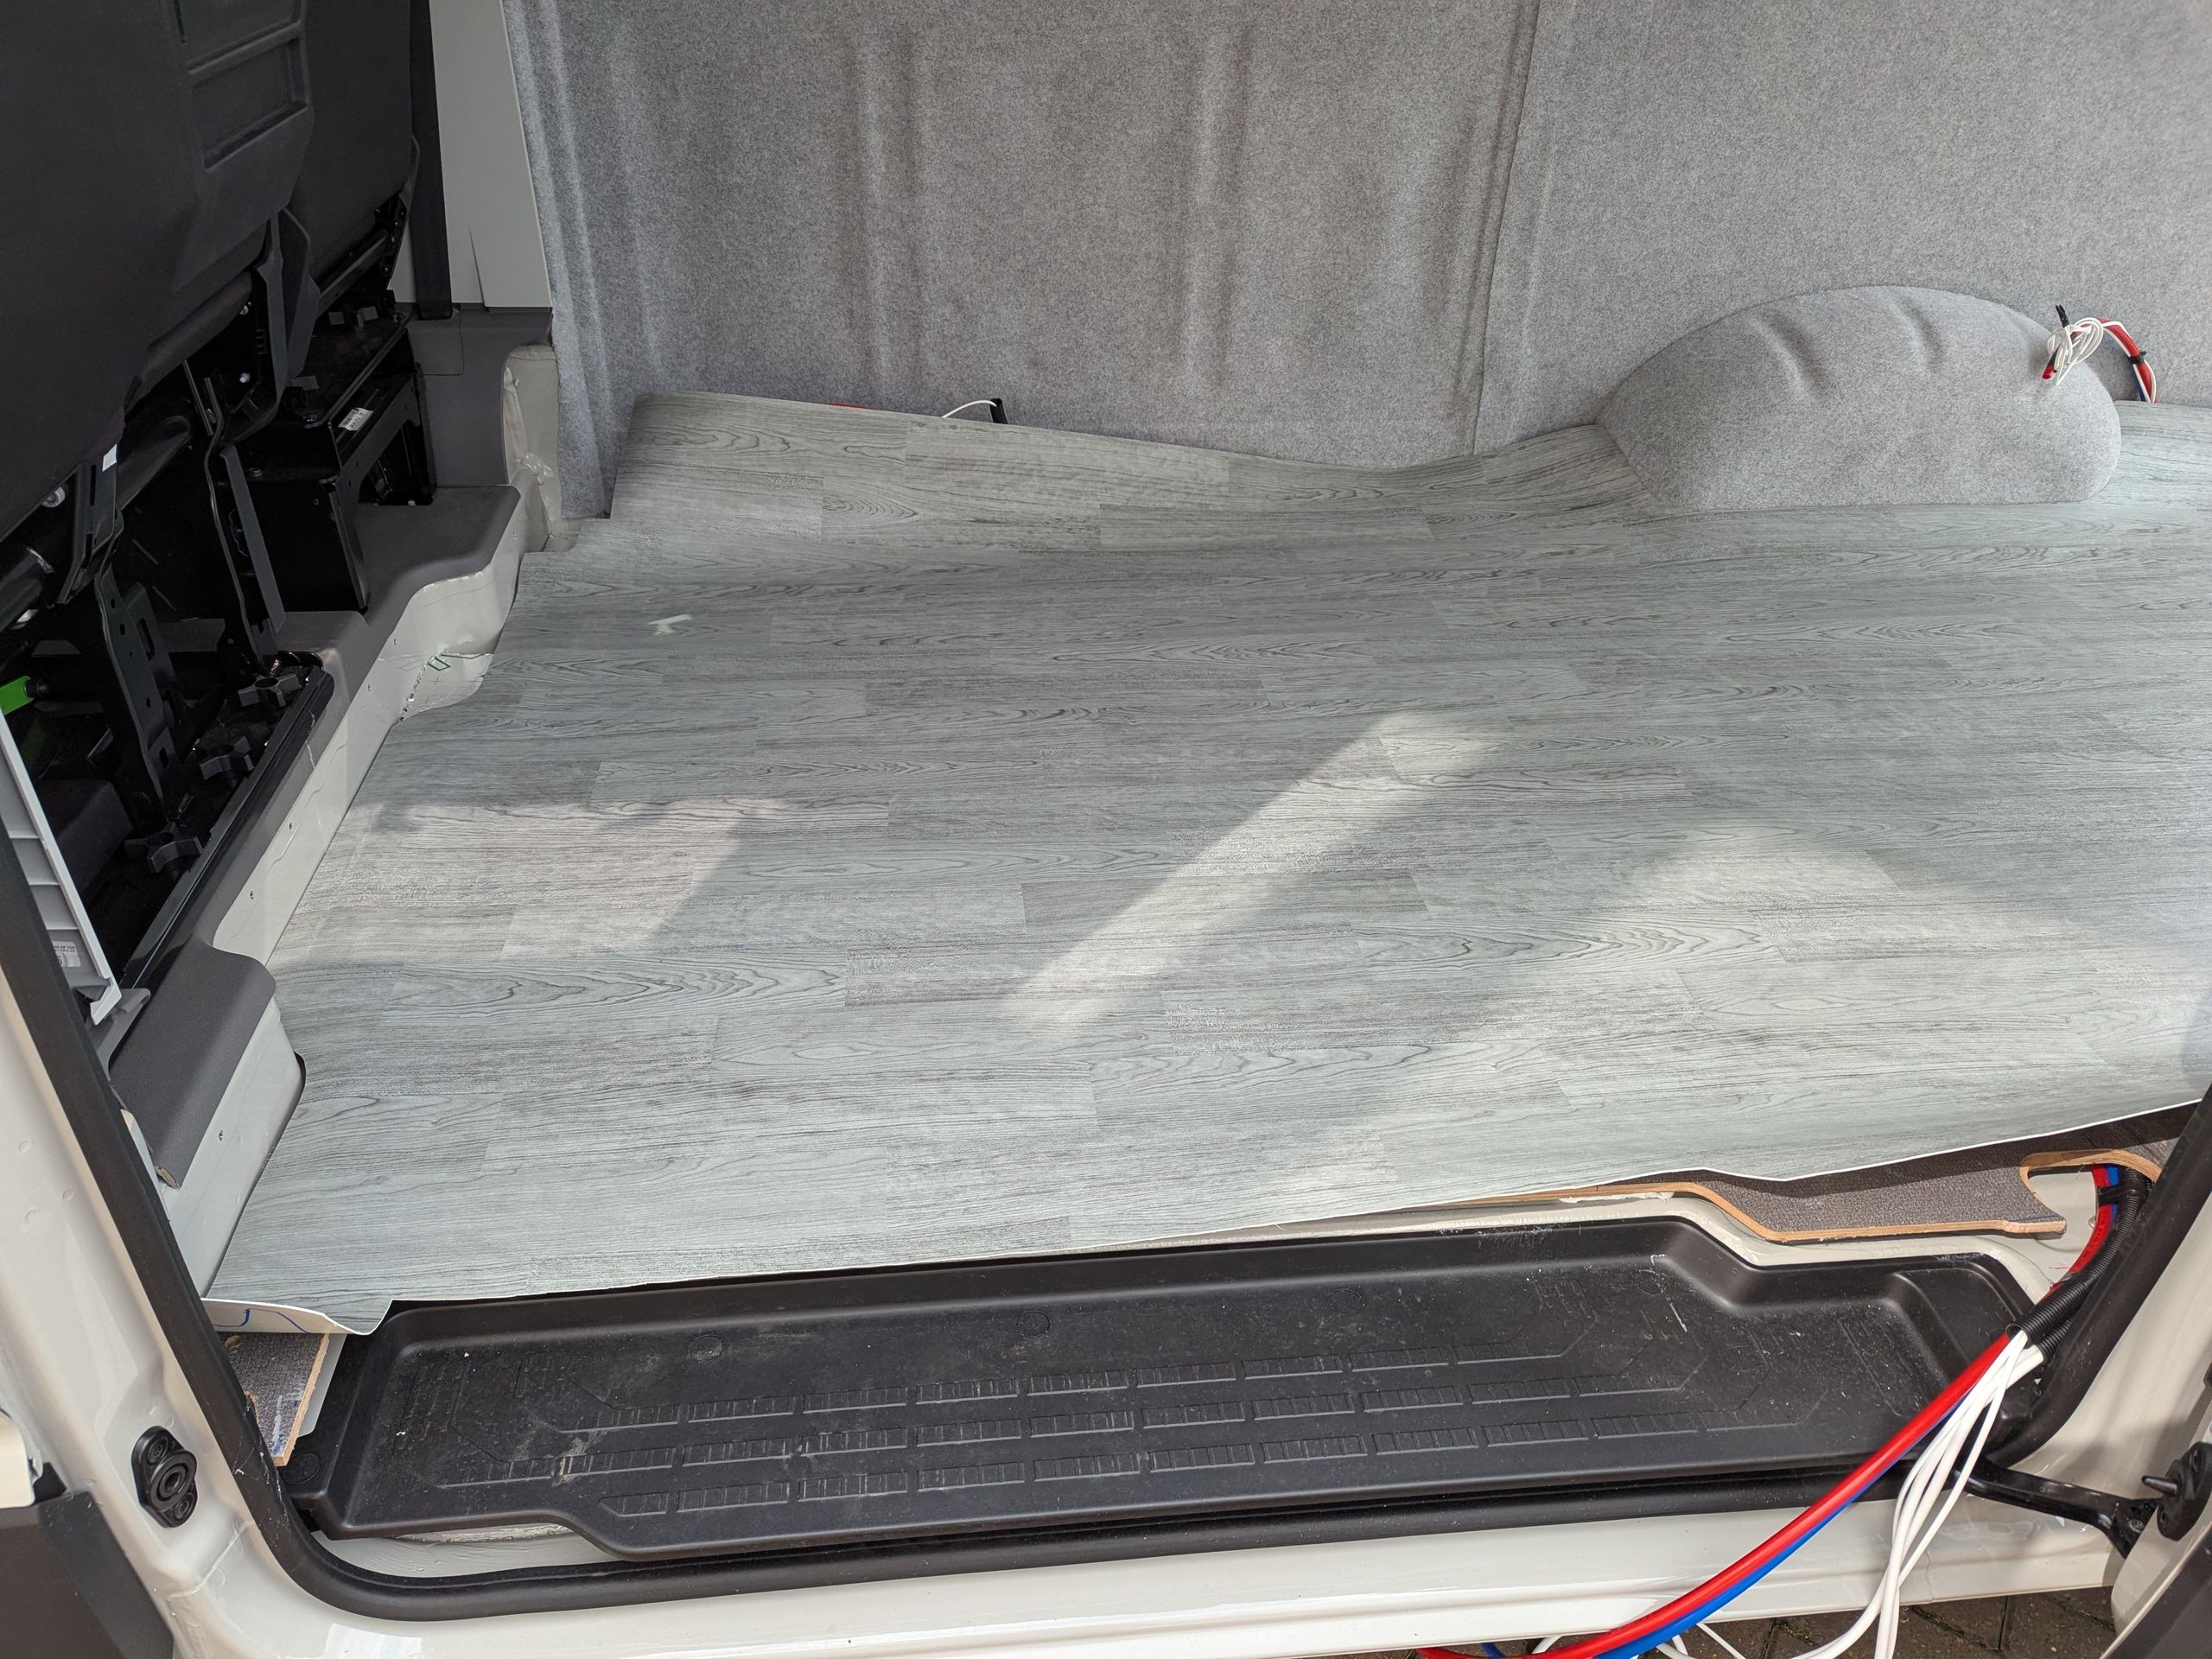
Reusing the factory plywood floor, I installed a vinyl covering to create a durable, attractive surface:
-
Cutting the Plywood: I marked and cut the plywood with a jigsaw to fit tightly against the door, leaving a gap at the back (to be covered by a step plinth) and holes for utilities (pipes and cables) near the sliding door and opposite, behind the passenger seat.
-
Preparing the Vinyl: I placed the vinyl upside down, laid the plywood on top as a template, and traced around it, leaving 2-3cm extra for tolerance (except at the top edge, cut tightly). I cut loosely with a Stanley knife.
-
Utilities Setup: Under the floor, I ran two 12mm pipes (hot and cold) for the water boiler, shower, and cold water tank, plus two conduits (one for 12V cables, one for 240V to the fuse box position) and conduits to the rear (two with 12V cables, one with a draw wire).
-
Securing the Floor: I screwed the plywood down every 30-40cm using 4x35mm screws with pilot holes and a countersink bit, ensuring alignment with the battens below. The floor is now level and secure.
-
Glueing the Vinyl: After vacuuming the floor (using a Catsu mini leaf blower from Amazon, bargain at approx £20), I sprayed contact adhesive on the plywood, slid the vinyl in from the back, and trimmed it precisely with a Stanley knife and tin snips. I peeled back the vinyl, sprayed adhesive on it, and rolled it down for a snug fit.
-
Finishing Touches: I covered anchor point holes with 3D-printed inserts or plywood, as most will be hidden under furniture (kitchen pod, shower, bench seat, water tank). Visible areas will get stair nosing later.

Step 2: Finishing the Ceiling Lining
The ceiling lining is nearly complete, creating a cosy and professional look:
-
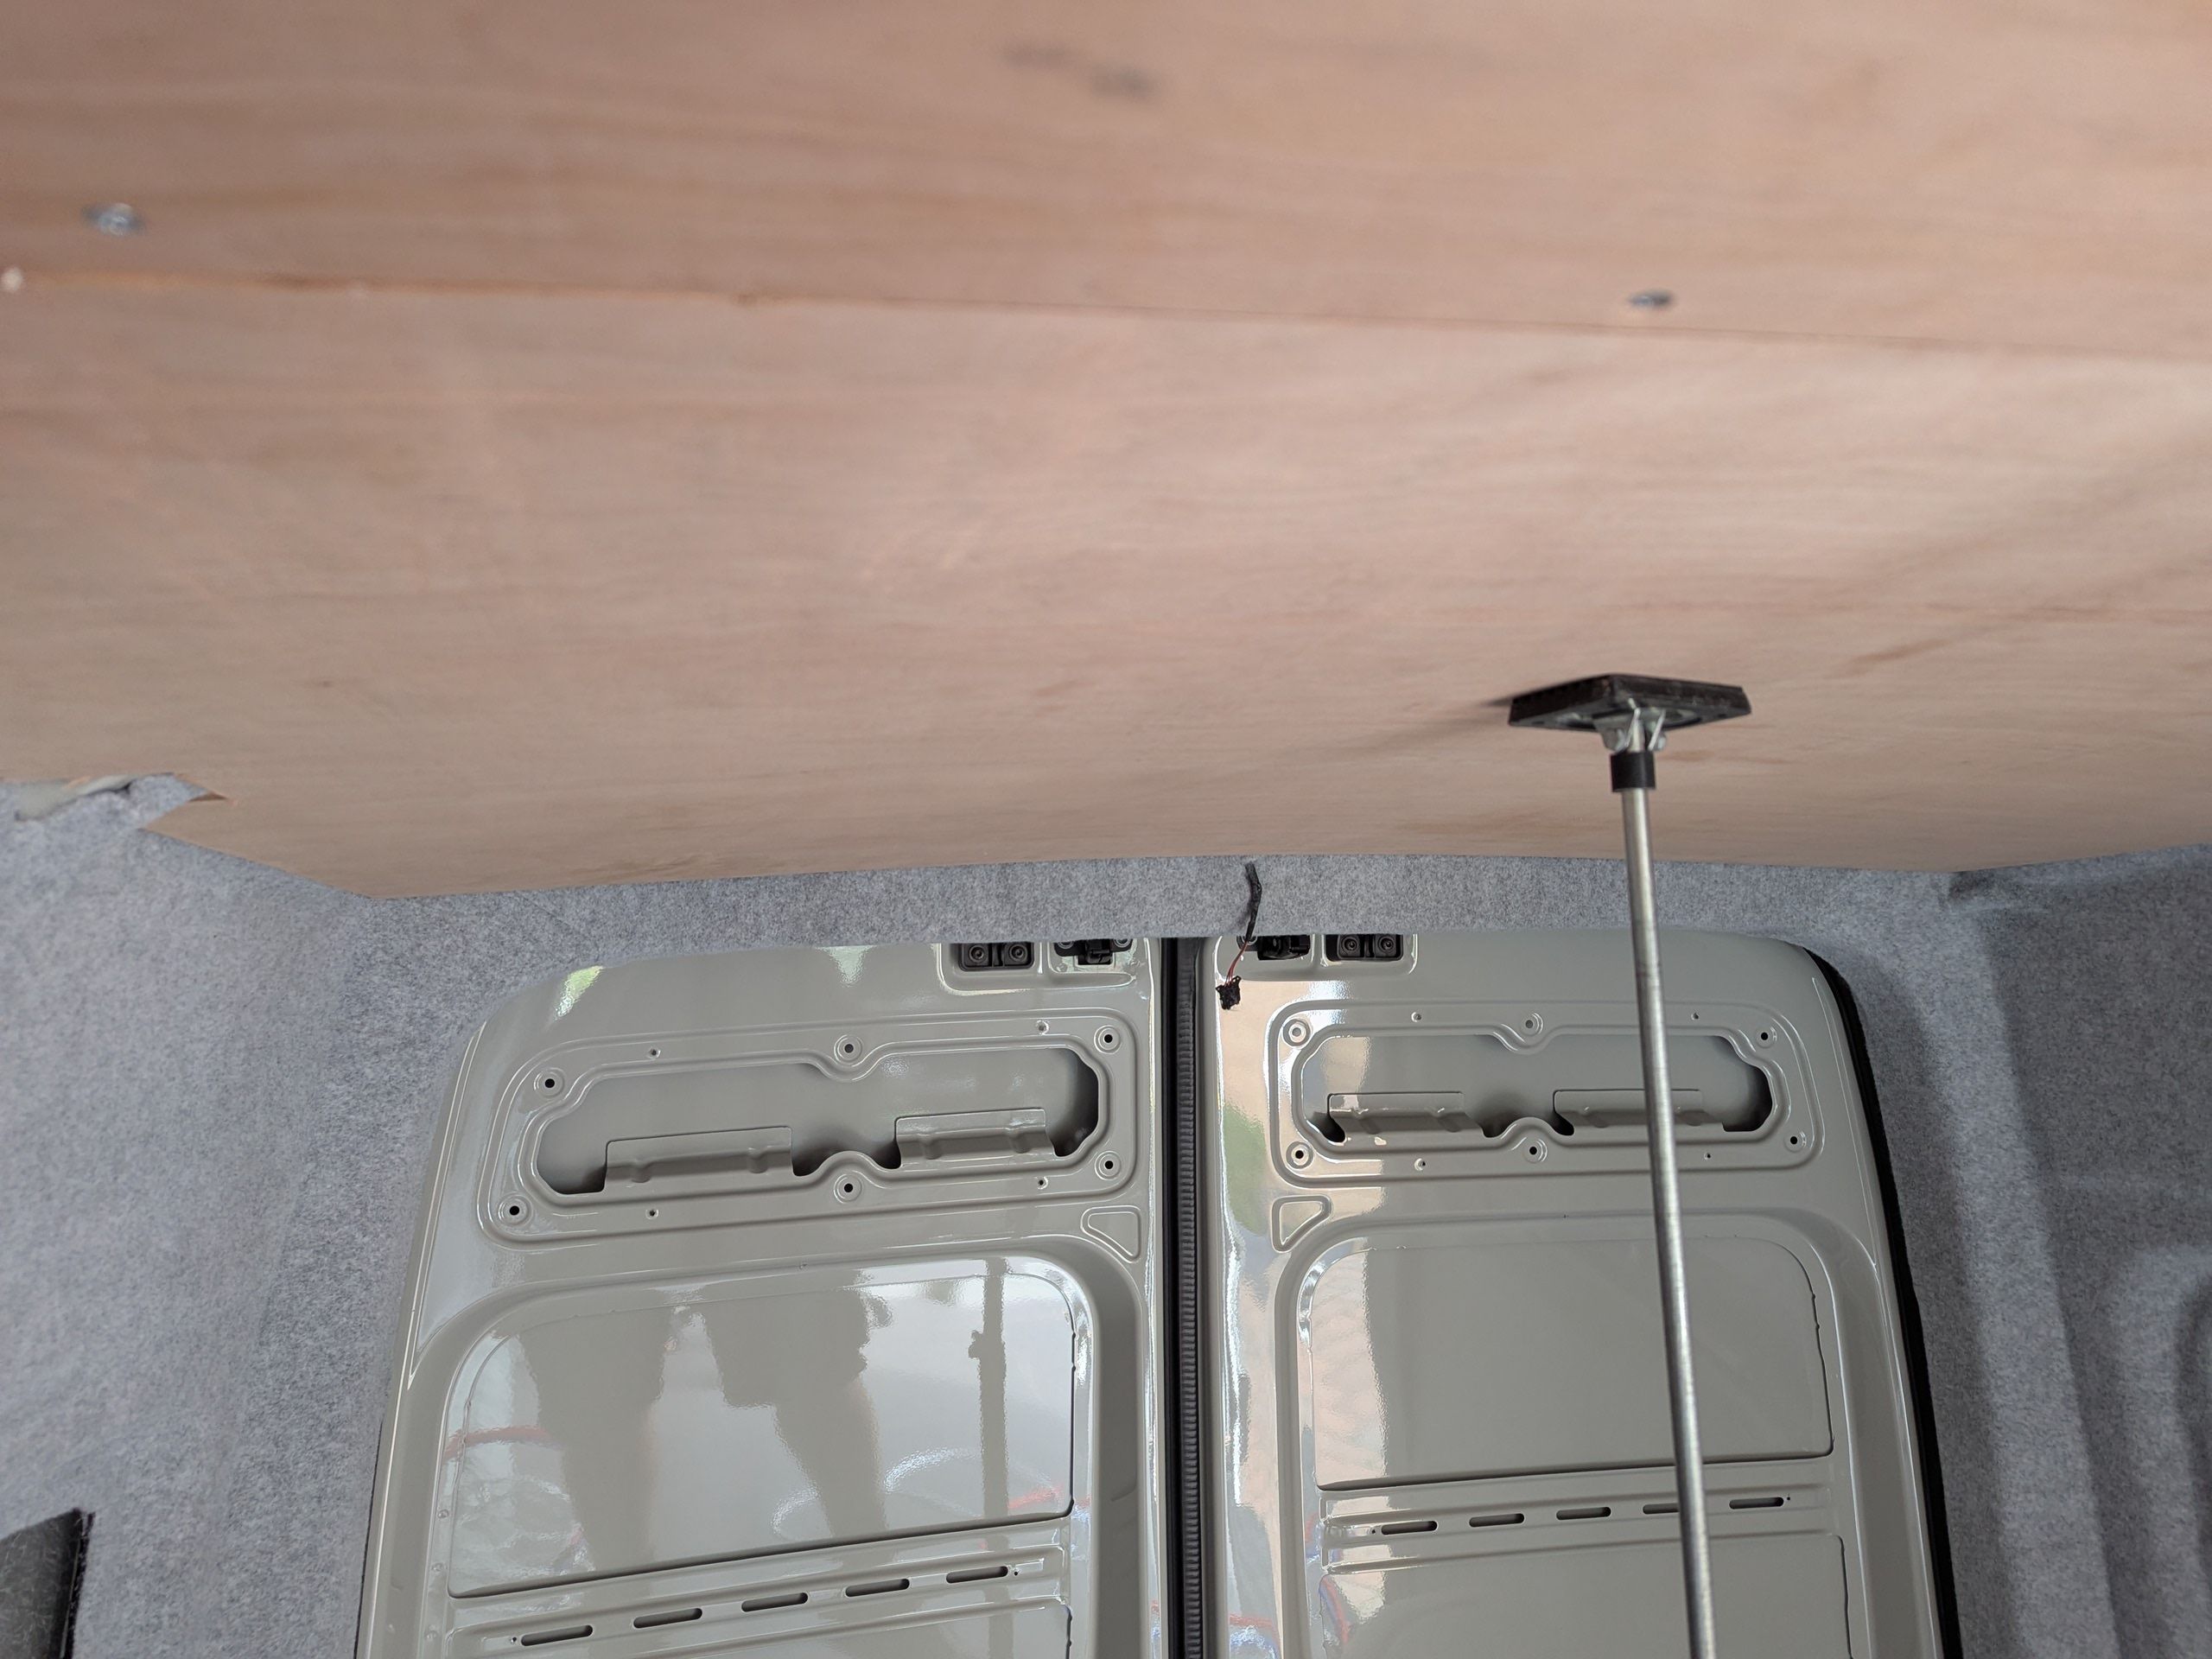
Ceiling Panels: I bonded and screwed 2 roof panels using countersunk self-drilling screws, ensuring flush joints to avoid visible lips under the carpet. A telescopic roof prop held the panels, and polyurethane adhesive secured roof battens (one in the middle, one on each side) for the plywood to follow the van’s contour.
-
Suede Liner: I glued a single piece of suede liner from Harrison Trim across the ceiling, starting at the back and working forward, spraying in sections. I masked the wall carpet with cardboard to avoid overspray, ensuring the liner was square to prevent gaps. Edging will be finished later with suede-lined plywood and lockers.
-
Wiring: I left a wire exposed for a courtesy light at the rear, to be reconnected later.

Step 3: Lining the Side Pods
To match the van’s aesthetic, I lined the side pods (bump-outs for the traverse bed) with premium material:
-
Material: I used patterned leatherette with foam backing from Harrison Trim, matching the seat coverings for a cohesive look.
-
Application: I sprayed glue on both the pod and material, moulded the fabric around the contours, trimmed the edges with a Stanley knife, and will add edging trim.
Progress Recap
In 8 days, we’ve fully lined the van, setting the stage for furniture installation:
-
Laid and screwed down the plywood floor, ran utilities, and glued vinyl flooring.
-
Finished the ceiling with suede liner over the secured panels.
-
Lined side pods with leatherette for a premium finish.
-
Prepped for furniture, including pre-built lockers, a shower cubicle, transformer lounge with 2 double bunk beds, and a kitchen pod, we sell via https://camperlux.co.uk/products/intrepidvan-furni...
Within a week, we will have a functional campervan, though electrics, plumbing, trimming and adding the luxury home comforts will continue!
What’s Next?
In Episode 6, we will start installing the furniture, including lockers, a kitchen pod, and a bed frame, and commence the wiring and plumbing.
Follow along on YouTube for the next video, and check out https://camperlux.co.uk/ for furniture kits to replicate this build. Got questions or van build tips?
Subscribe to my YouTube channel https://www.youtube.com/@camperlux7151 and follow the blog for updates on this off-grid adventure InterpidVan build!
Display prices in:GBP
