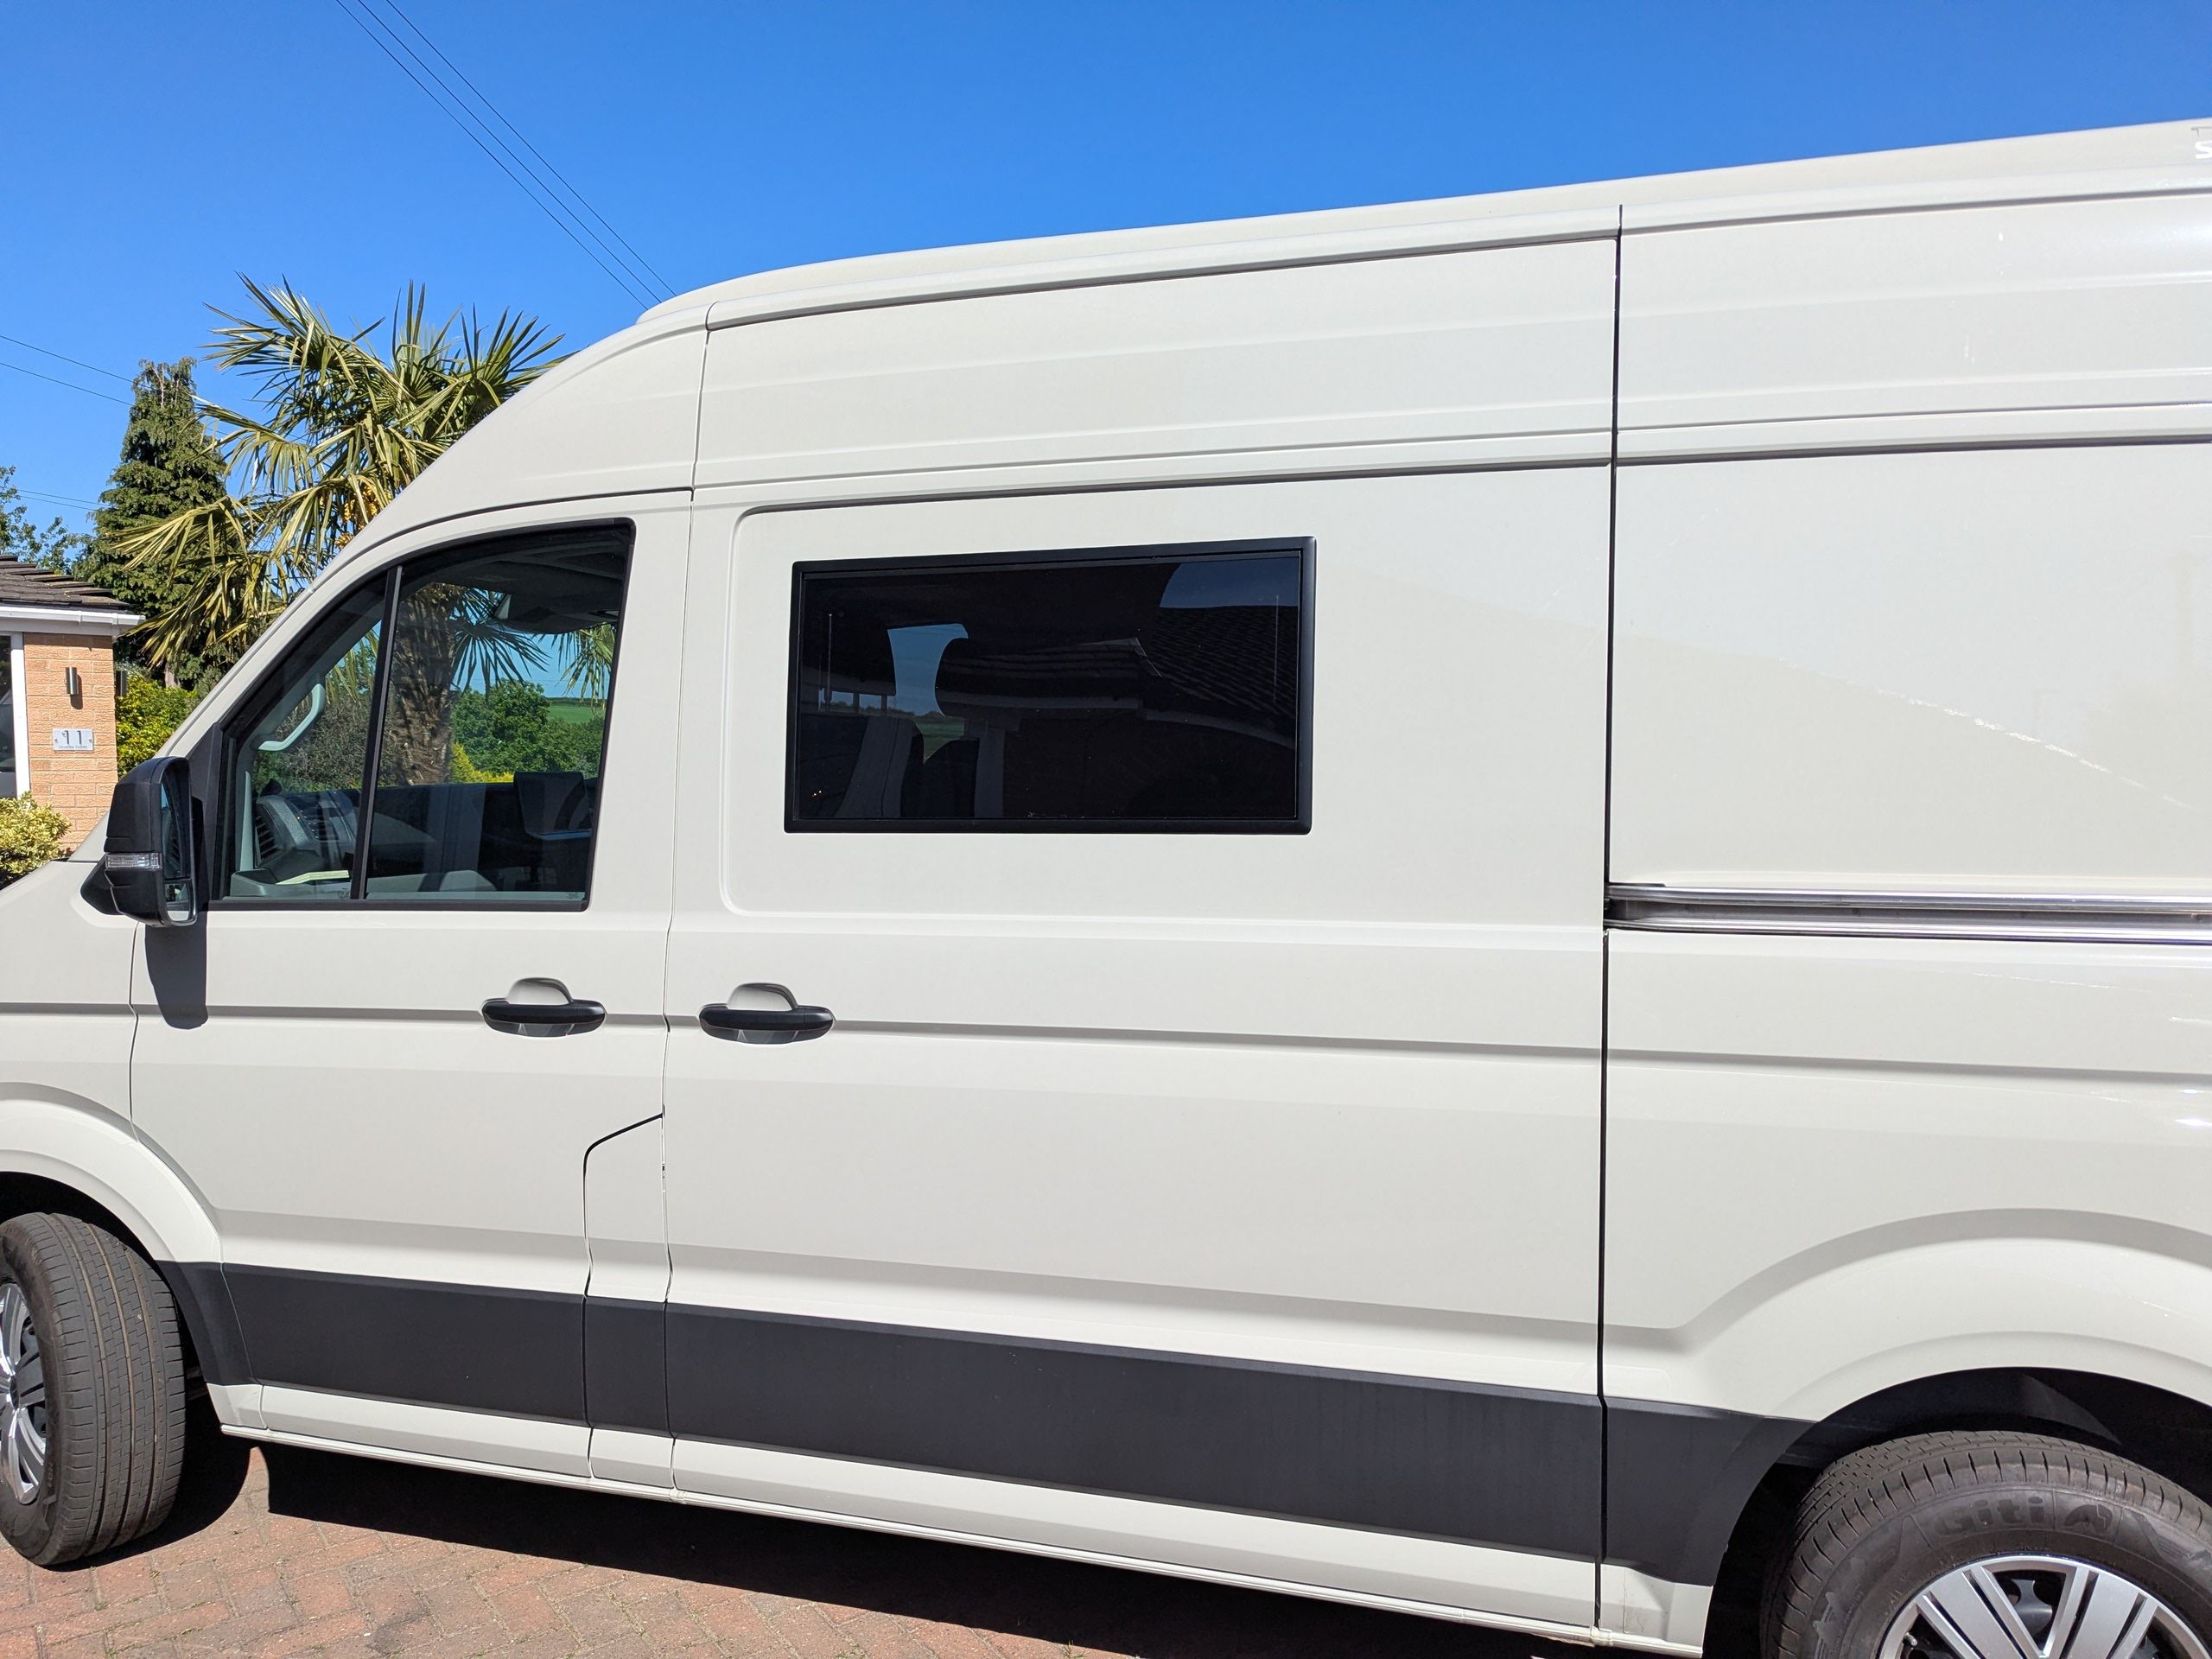
Episode 2 - Installing side windows, awning rail, side pods & preparing the floor
Transforming a VW Crafter into a 4-Berth Off-Grid Adventure Vehicle: Episode 2
Hey, I’m Ollie, and welcome back to my blog and YouTube series chronicling the transformation of a medium wheelbase VW Crafter into a 4-berth, off-grid adventure vehicle!
In Episode 1 https://camperlux.co.uk/products/episode-1-install..., I installed R&J swivel seats, insulated the cab, and added a cab locker.
Now, in Episode 2, we’re making big progress toward the outside of the van by fitting windows, installing an awning rail, and lifting the factory floor to prepare for insulation and utilities. Let’s get into it!
Step 1: Fitting the Windows
The windows I’m installing are Adventurer windows from Jackson’s Leisure, designed with a curved profile to match the VW Crafter’s shape. I’m using two sizes: 450x900mm and 400x700mm. Here’s how we installed them:
-
Preparation: Precision is key when cutting window openings. I used 11x13cm templates to mark the exact spots on both the passenger and driver sides, double-checking measurements to ensure accuracy.
-
Framing: To secure the windows, I built frames using 25x50mm roofing battens, bolted to the van’s interior. These provide a surface for the window clamps to grip.
-
Cutting: I masked off the cutting area with painter’s tape to prevent scratches and used a jigsaw to follow the guideline. A multi-tool was used to carefully remove internal strengthening crossmembers, which I weakened and snapped off.
-
Finishing: After sanding and priming the cut edges with metal primer (inside and out), I applied a bead of SikaFlex 221 sealant around the window channel, wiped the area with alcohol wipes, and clamped the windows in place. It is useful to have an extra pair of hands at this point to hold the windows in place and clamp them in place!
-
Side Pods: I also installed bump-out side pods for the traverse bed, glueing and clamping them with SikaFlex 221 and leaving them overnight to set.

Step 2: Installing the Awning Rail
To enhance outdoor living, I fitted a Vamoose awning rail along the van’s side. The process was straightforward:
-
Marking and Drilling: I marked the rail’s position and drilled pilot holes for accuracy.
-
Securing: After applying SikaFlex 221 to the back of the rail, I screwed it into place and sealed around the edges for a watertight finish.
The awning rail is a game-changer for creating shade, shelter and extra space during adventures.
Step 3: Lifting and Preparing the Factory Floor
To insulate the floor and run utilities, I lifted the factory floor—a task that requires patience due to the tar-like adhesive holding it down. Here’s how it went:
-
Removing Shackles: Using a spline drive, I removed the shackles securing the floor. I marked the board joints and a 70mm channel for utilities (conduit and water pipes).
-
Lifting the Floor: The floor was glued with a tar-like substance, so I used pump wedges to gently lift it on a warm day, sliding a piece of wood underneath to pry it up as the tar broke away.
-
Cleaning: I scraped off the tar and removed small wooden blocks with felt from the floor. A thorough wipe-down left the van’s metal surface clean.
-
Utility Channels: I marked a 70mm channel across the middle and rear for hot and cold water lines (from a rear water tank) and electrical cables (mains and 12V) to the kitchen pod.
-
Framing: I cut eight 3.6m 50x25mm roofing battens to create a grid pattern (300mm noggins at the rear, 325mm at the front), glued them down with SikaFlex and used spacers and self-drilling screws for stability.
-
Reinstalling: I placed the original floor back, weighed it down with heavy objects, and left it overnight for the adhesive to set.
Progress Recap
In just three days, we’ve made huge strides:
-
Fitted a passenger-side window and bump-out pod.
-
Installed a driver-side window and bump-out pod.
-
Added an awning rail for outdoor functionality.
-
Fitted the side bump-out pods.
-
Lifted the factory floor, cleaned it, and prepared utility channels.
With the cab insulation and locker from Episode 1, the Crafter is starting to look like a proper campervan!
What’s Next?
In Episode 3, we’ll insulate the floor, run utilities through the channels, and start building the interior layout.
Subscribe to my YouTube channel https://www.youtube.com/@camperlux7151 and follow the blog for updates on this off-grid adventure InterpidVan build!
Have questions or tips for van conversions? Drop us a message or comment.
Display prices in:GBP
